
About memy stats
Information About Me
I'm Talaksew Agegnehu, a passionate Web Developer with years of experience in building beautiful, responsive websites. I specialize in Front-End development, focusing on creating user-friendly and visually appealing digital experiences. My coding journey began years ago, and I have honed my skills in HTML, CSS, JavaScript, SAAS, Bootstrap, ReactJS and other web technologies with certifications which validate my expertise and commitment to excellence in the field.
I'm always learning new techniques and staying updated with the latest web development trends, aiming to transform ideas into engaging websites that leave a lasting impact.
65+
Projects
Completed
3+
Years Of
Coding Experience
keen
on Building
and Problem-Solving
Eager
to Work on
Real-World Challenges
Skills


Certifications
Work Experience
2019 - 2021
Electronics Workshop Techinician - WPTC
My experience as a workshop technician at Woldia polytechnic college significantly enhanced my workplace skills. Collaborating with colleagues in a dynamic environment helped me grow professionally and expand my technical expertise.
2021 - 2022
American English Language Teacher - kenny language school
As an American English teacher at a language school, I had the opportunity to develop effective teaching methods and engage with diverse groups of students. This role enhanced my communication skills and deepened my passion for education.
June, 2025 - Present
Front-End Intern - Kachamale Technologies
In my front-end intern role, I collaborate with team members and contribute to real projects. This role improves my communication, strengthens my technical skills, and deepens my passion for web development.
portfoliomy work
Here is some of my work that I've done using various Front-End technologies.

Random Quote Machine: A React app fetching random quotes from an API with dynamic display and Twitter sharing functionality, showcasing React hooks and API integration.
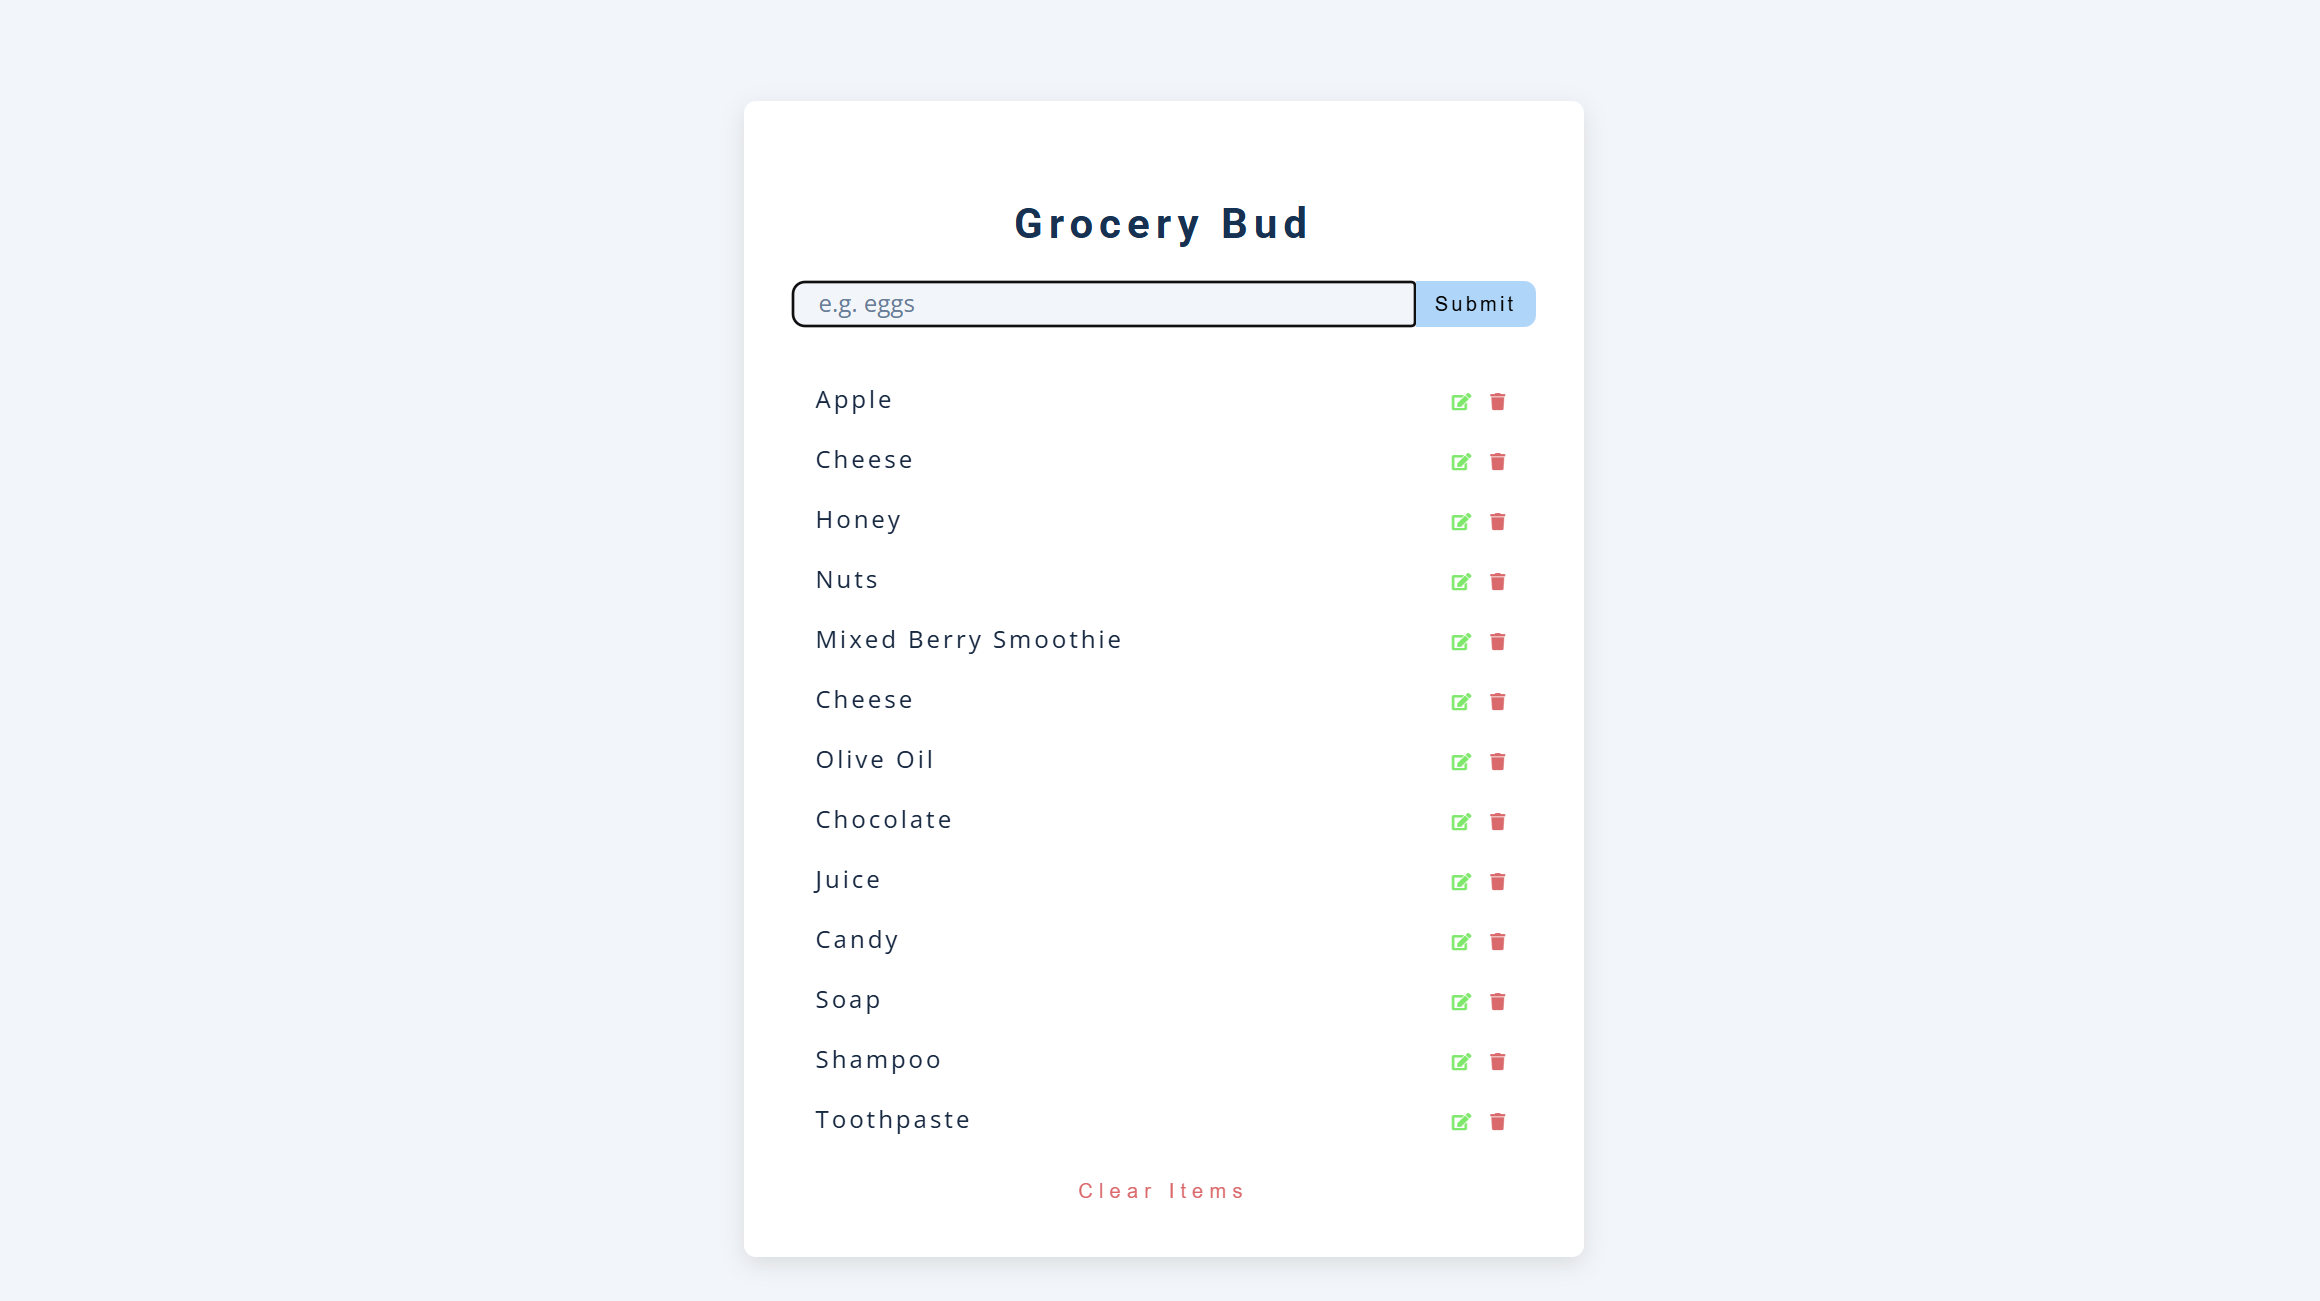
Grocery Bud: A CRUD application allowing users to add, edit, and remove items from a grocery list, showcasing JavaScript interactivity and state management using JSON to store and manage the data.
Giveaway Countdown Timer: A dynamic countdown timer built with JavaScript to track days, hours, minutes, and seconds until a specified date.
Background Video: A visually engaging project with an integrated background video, emphasizing modern UI design and seamless media implementation.
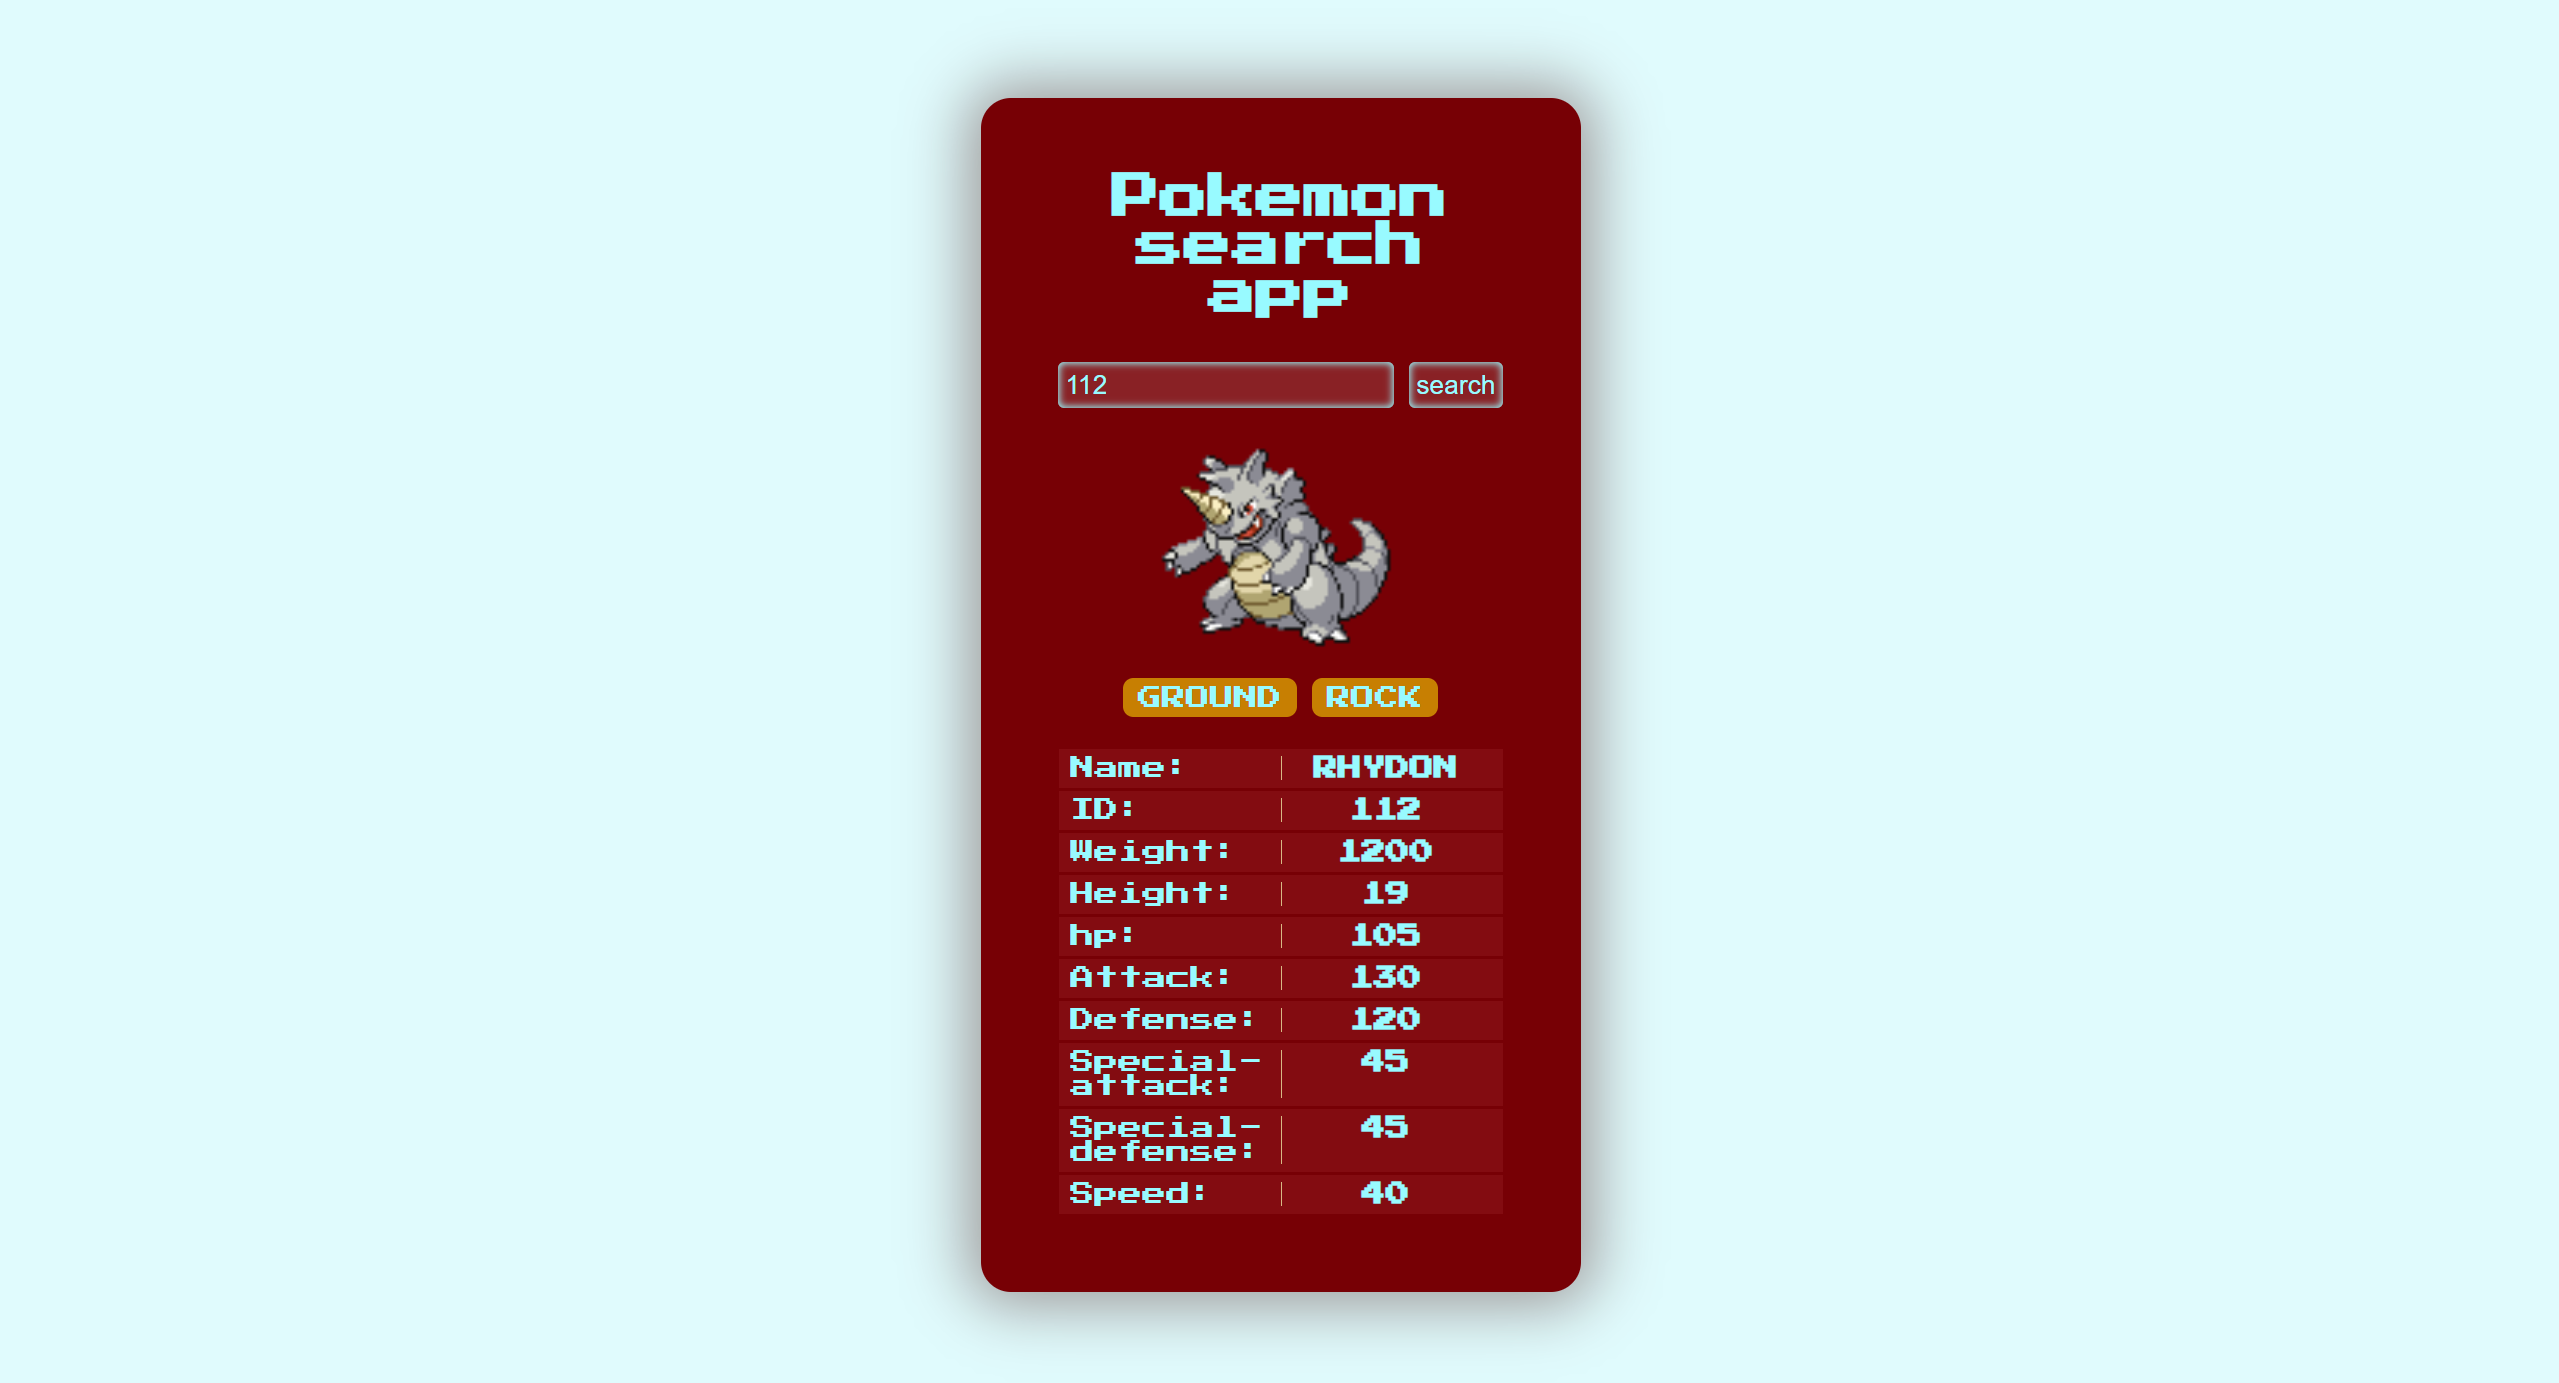
Pokémon Search App: A search-based app using the Pokémon API to fetch and display data, demonstrating API integration and search functionality.

Blogsmy blogs
My Journey to Fetching Data
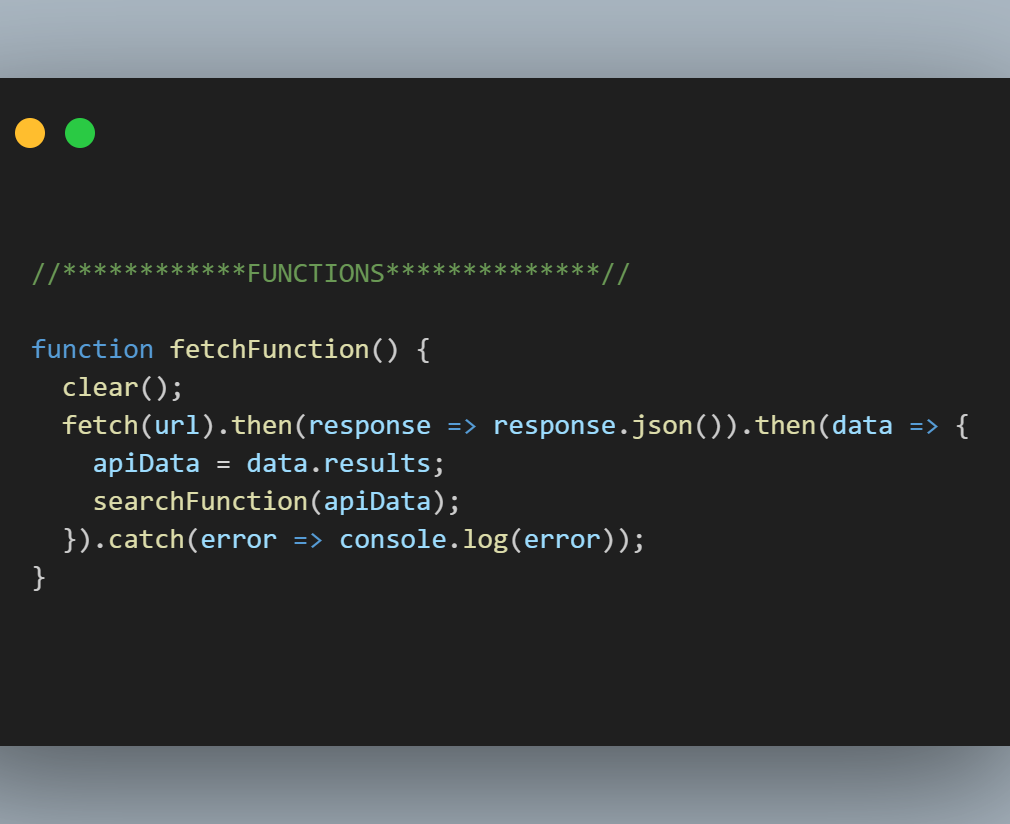
Before I started using APIs, I built many websites and JavaScript projects, experimenting with different features and functionalities. However, there was always something missing. I wanted to use real data—data that others had created—to process and display in my projects. But instead of fetching data, I used to rely on manually created arrays to supply the data for my projects. This workaround was functional but left me feeling incomplete as a Front-End developer.
I had heard about fetching data and knew it was a key skill in Front-End development, but I had never practiced it. Without hands-on experience, the concept felt out of reach. The lack of familiarity made me feel as though I wasn’t fully equipped as a developer. I was eager to bridge this gap and step into a new level of proficiency.
That opportunity came when I decided to build my Pokémon Search App. The project required a large dataset of Pokémon information, and I knew it was the perfect chance to finally practice fetching data from an API. For the first time, I dived into using an API, learning how to retrieve, process, and display real data dynamically. It was an eye-opening experience.
When my app successfully fetched and displayed Pokémon data, everything changed. I felt a newfound confidence in my skills. This wasn’t just a technical achievement; it was the moment I truly felt like a complete Front-End developer. Fetching data from an API turned my projects into dynamic, real-world applications that went beyond static arrays and hardcoded data.
This experience taught me that Front-End development is as much about connecting to real-world data as it is about building user interfaces. Practicing API integration not only filled a gap in my knowledge but also transformed the way I approach projects. Now, whenever I fetch data for a project, I remember the excitement of that first successful attempt and how it marked a turning point in my journey as a developer.

My First Experience with Axios in React
As a Front-End developer, I recently worked on a project to build a random quote generator app using React. During this process, I needed to fetch data from an API to display quotes dynamically. That’s when I decided to try Axios for the first time, and I’m glad I did!
Why I Chose Axios
Axios is widely recommended in the React community for making HTTP requests. Some of the key reasons include:
- Simplicity: Axios has a clean and intuitive syntax, which makes it easy to set up and use.
- Promise-Based: It works with Promises, making it straightforward to handle asynchronous operations.
- Automatic JSON Handling: Axios automatically transforms the response data into JSON, saving extra steps.
- Error Handling: It provides better error messages and makes debugging easier.
Given these advantages, it felt like the perfect choice for my project.
Using Axios in My Random Quote App
Integrating Axios into my app was simple. After installing it with npm install axios, I imported it into my component and used it to fetch data from the API. Here's an example of how I implemented it:
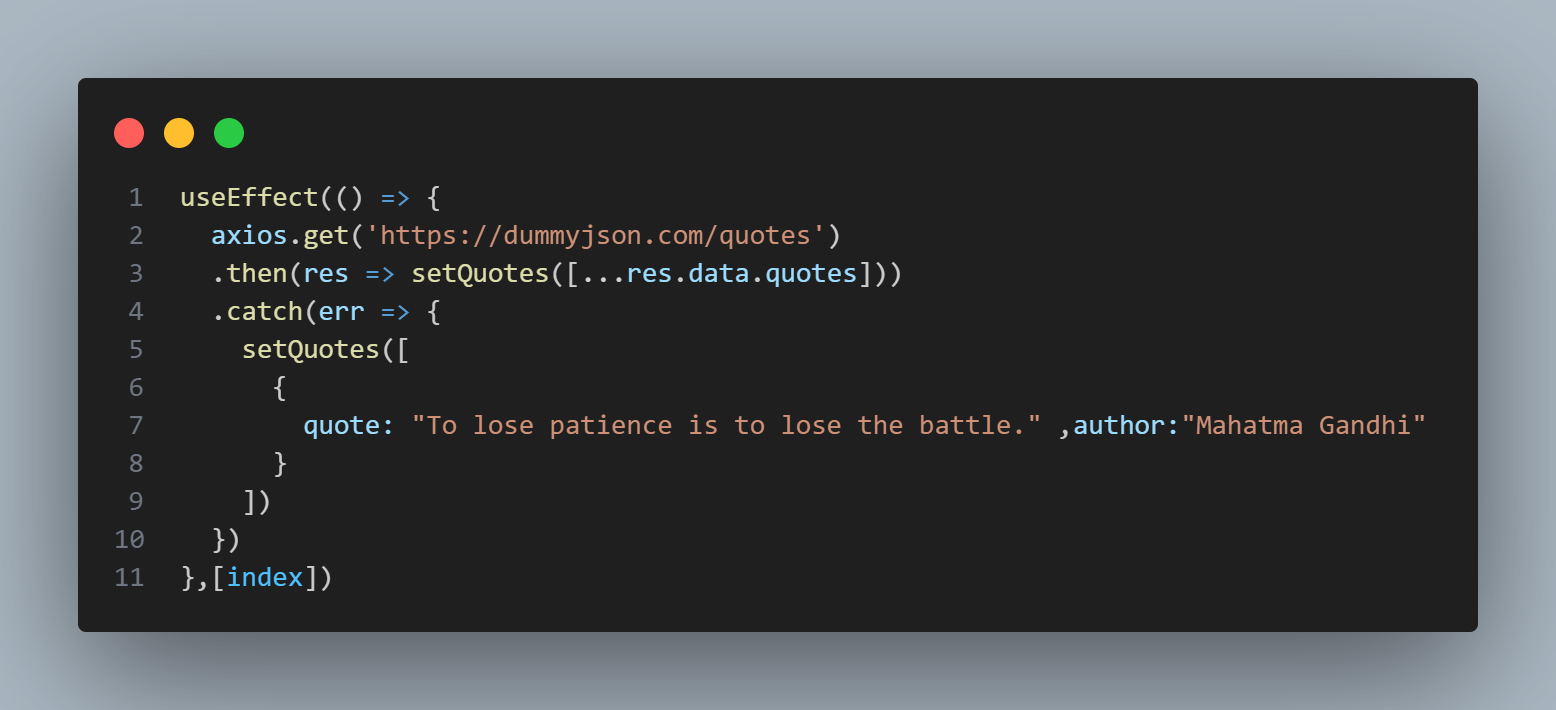
With just a few lines of code, I was able to fetch and display quotes seamlessly.
My Experience with Axios
Using Axios for the first time was a smooth and enjoyable experience. I appreciated how easy it was to set up and how efficiently it handled API requests. The automatic JSON conversion and built-in error handling were especially helpful in simplifying my code. It made working with APIs feel less intimidating and more approachable.
Axios turned out to be a great choice for my random quote app. It’s a powerful tool that I’ll definitely use in future projects. If you’re new to API integration in React or looking for a reliable HTTP client, I highly recommend giving Axios a try. It’s beginner-friendly, feature-rich, and makes working with APIs much more manageable.

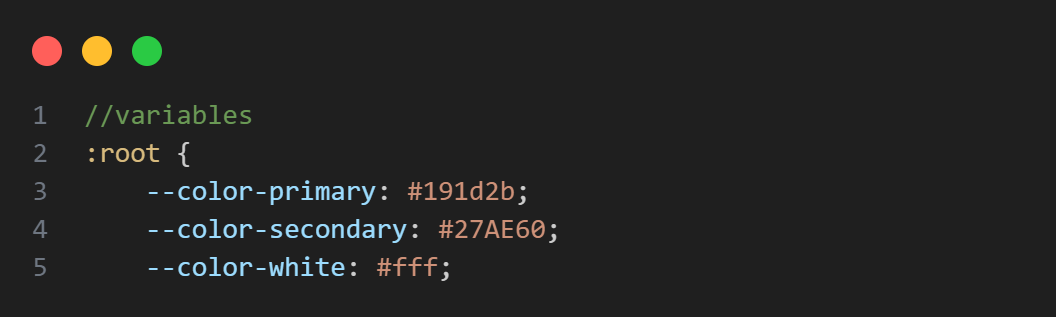
My Experience with Sass: A Game-Changer for CSS
When it comes to styling projects, one tool that has truly enhanced my workflow is Sass. I’ve used Sass in several projects, including this very portfolio, and it’s been an incredible experience. Sass has not only made my CSS more organized but also more efficient to maintain.
Why I Love Sass
Sass, short for "Syntactically Awesome Stylesheets," is a preprocessor that extends the functionality of CSS. Here are some of the reasons I’ve come to appreciate it:
- Code Organization: Sass allows you to break your styles into smaller, manageable pieces using partials and @import. This structure makes large projects much easier to maintain.
- Nesting: The ability to nest selectors keeps your CSS clean and readable, especially when dealing with complex components.
- Mixins and Functions: These features let you reuse chunks of code and create dynamic styles, reducing repetition and improving efficiency.
Sass in Action: Building My Portfolio
When building my portfolio, I relied on Sass to streamline the styling process. For example, I used variables to define my color palette and fonts, ensuring consistency across all pages. Here’s a small snippet to illustrate:
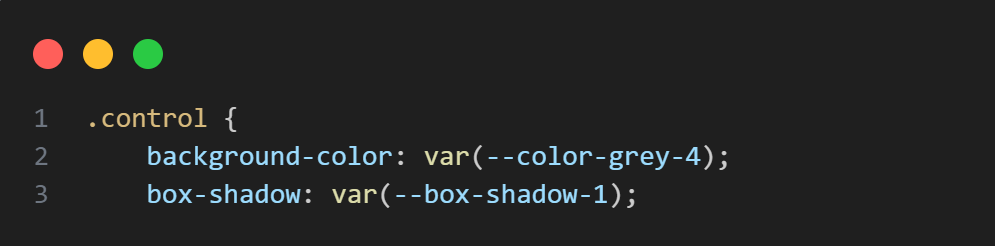
I also used nesting to keep related styles together, which made the code more intuitive to read and modify:
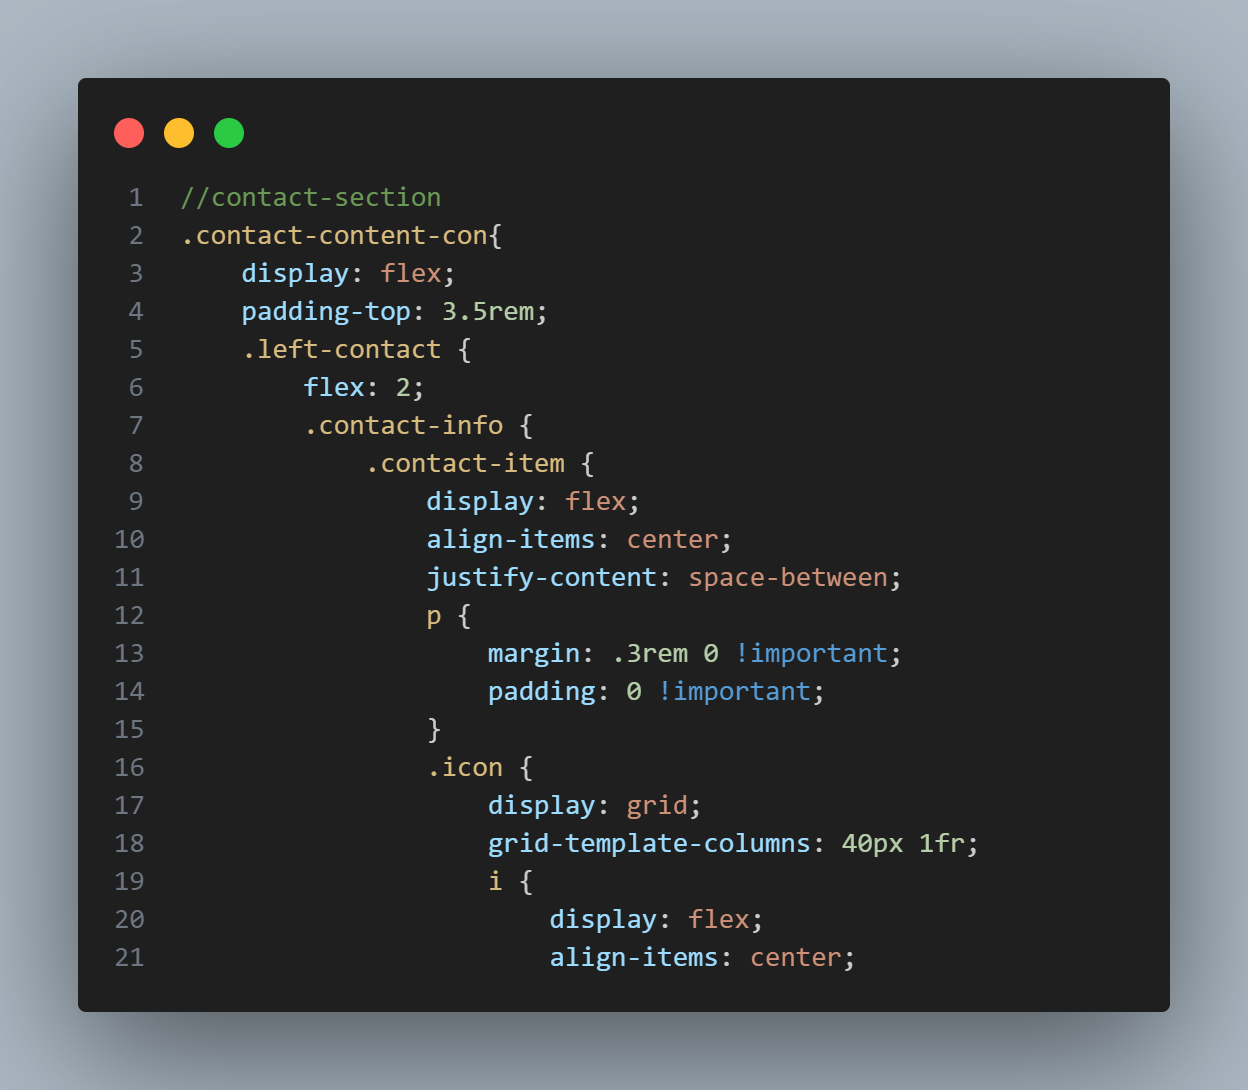
This structure allowed me to make changes quickly without having to sift through a massive CSS file.
The Sass Experience
Overall, working with Sass has been a rewarding experience. It’s a tool that not only makes your CSS more powerful but also more enjoyable to write. Features like variables, nesting, and mixins make styling a project less tedious and more dynamic.
Sass has become an integral part of my development workflow, and I highly recommend it to anyone looking to level up their CSS skills. Whether you’re working on small projects or large applications, Sass can help you write cleaner, more maintainable code. If you haven’t tried it yet, give it a shot—you might just fall in love with it like I did.

How to Deploy a Website Using GitHub Pages and Connect a Custom Domain
GitHub Pages is an excellent tool for hosting your personal website for free. Whether you’re creating a portfolio, a blog, or a project showcase, deploying via GitHub Pages makes it easy to get your website live quickly. This guide will walk you through the steps of deploying your website to GitHub Pages and connecting it to a custom domain name.
Step 1: Set Up Your GitHub Repository
Before you can deploy, you need to create a GitHub repository to store your website files.
- 1. Create a New Repository: log in to GitHub and click on the + icon in the top-right corner of your screen. Select New repository.
- 2. Name Your Repository: choose a name for your repository (e.g., portfolio-website).
- 3. Initialize with a README: optionally, initialize your repository with a README file to describe your project.
- 4. Create the Repository: click the Create repository button.
Step 2: Add Your Website Files
Once the repository is created, it’s time to upload your website files.
- 1. Create Your Website Locally: on your local machine, create the files for your website (e.g., index.html, style.css, and any JavaScript files you need).
-
2. Commit and Push Files to GitHub: in your terminal or command prompt, navigate to your project folder and run these commands:
- git init
- git add .
- git commit -m "Initial commit"
- git remote add origin https://github.com/yourusername/portfolio-website.git
- git push -u origin master
Step 3: Enable GitHub Pages for Your Repository
Now that your website files are uploaded, you need to enable GitHub Pages to serve your site.
- 1. Go to Repository Settings: in your GitHub repository, click the Settings tab.
- 2. Find the GitHub Pages Section: scroll down to the GitHub Pages section.
- 3. Select the Branch: under the Source dropdown, choose main or master as the branch for deployment.
- 4. Save: your site will be live on https://yourusername.github.io/portfolio-website/ within a few minutes.
Step 4: Buy a Custom Domain Name
To make your website more professional, you can buy a custom domain name (e.g., yourname.com). Here’s how to do it:
- 1. Choose a Domain Registrar: go to a domain registrar like Namecheap, GoDaddy, or Google Domains.
- 2. Search for Your Desired Domain: use the search tool to find an available domain that fits your needs. Make sure to select a .com, .net, or other top-level domain that you prefer.
- 3. Purchase the Domain: follow the registrar’s steps to purchase the domain and complete the checkout process.
Step 5: Connect Your Domain to GitHub Pages
Once you have your custom domain, you can link it to your GitHub Pages site.
-
1. Configure DNS Settings: go to your domain registrar’s DNS settings page and create two records:
-
CNAME Record:
Create a CNAME record pointing your domain (e.g., www.yourname.com) to yourusername.github.io.
Example CNAME entry:
- Host: www
- Value: yourusername.github.io
-
A Records:
Add A records to point your domain directly to GitHub Pages’ IP addresses.
Example A Record entries:
- Host: @ (or leave blank)
- Value: 185.199.108.153
- Value: 185.199.109.153
- Value: 185.199.110.153
- Value: 185.199.111.153
These records ensure both the root domain and www subdomain point to your GitHub Pages site.
-
CNAME Record:
- 2. Add a CNAME File to Your Repository: in the root of your GitHub repository (where your index.html file is), create a file named CNAME (without any file extension). Inside this file, add your custom domain: www.yourname.com
- 3. Verify the Connection: once your DNS settings have been updated (this can take a few hours), visit www.yourname.com in your browser. Your GitHub Pages site should be live with your custom domain.
Step 6: Updating Your Website
Whenever you need to make changes to your website:
- Update the files on your local machine.
- Commit and push the changes to GitHub.
- GitHub Pages will automatically update your live site.
By following these steps, you can easily host your website for free and link it to a custom domain name, providing a polished online presence.

My Transition from Plain JavaScript to React
Before starting React, I spent significant time working with plain JavaScript (often called "vanilla JS"). It provided me with a solid understanding of essential coding principles like DOM manipulation and event handling, which became the backbone of my Front-End development skills. However, learning React became a natural next step in my journey, as it is highly recommended for building modern web applications.
Starting with FreeCodeCamp
FreeCodeCamp played a pivotal role in guiding me toward Front-End libraries, including React. Its structured curriculum made it easy to grasp concepts and apply them through hands-on projects. This step-by-step learning approach allowed me to build a strong foundation in React and other Front-End tools, making the entire experience rewarding and accessible.
First Impressions of React
When I began using React, I initially found it confusing why it was so widely recommended over plain JavaScript. At first, React seemed to make the code more complex and appeared to reduce rendering time for simple projects. However, as I explored further, I realized that React’s true strength lies in its ability to handle larger, more dynamic applications efficiently. Its component-based structure and robust ecosystem make it particularly effective for big projects, where plain JavaScript can quickly become cumbersome.
Why React Is Worth It
While React may seem daunting at first glance, I found its learning curve surprisingly manageable. Its intuitive concepts, like breaking down UIs into components and managing state effectively, became clearer with practice. Over time, React has become my go-to tool for building Front-End applications due to its scalability, efficiency, and vast ecosystem. Features like JSX and the virtual DOM enhance both development speed and application performance, solidifying React as a top choice for modern web development.
Transitioning from plain JavaScript to React has been a significant milestone in my development journey. While vanilla JS remains a great tool for small-scale applications, React has opened up new opportunities for building complex, feature-rich projects. Thanks to platforms like FreeCodeCamp, I’ve been able to embrace React’s potential and elevate my skills to the next level, making it a cornerstone of my development toolkit.

How freeCodeCamp Transformed My Coding Journey
My journey into coding began with pure curiosity. I was fascinated by computers and inspired by the way coding was portrayed in movies. However, despite my interest, I couldn’t write a single line of code. Everything changed when I discovered freeCodeCamp.
The first time I typed a piece of code was on freeCodeCamp’s platform. It provided me with a structured, beginner-friendly curriculum that guided me through the basics and beyond. The hands-on exercises, interactive lessons, and real-world projects helped me build confidence and develop my coding skills.
One of the best aspects of freeCodeCamp is its comprehensive curriculum, which covers web development, data structures, algorithms, and more—all for free. The certifications offered by the platform not only validate skills but also serve as motivation to keep learning and improving.
Even though I have explored other platforms and taken in-person courses, freeCodeCamp remains my most valuable learning and practicing resource. It has played a crucial role in my growth as a developer, and I am deeply grateful for the opportunities it has provided.
For anyone looking to start their coding journey, I highly recommend freeCodeCamp. It’s an incredible platform that empowers learners worldwide with quality education at no cost. Thank you, freeCodeCamp, for making coding accessible and transforming lives!